
CONTACT US
21000 Frontage Rd, Suite 10
Belgrade, MT 59714
Phone 406-388-3458

Log Profiles
FLOOR PLANS TO 1,500 sq ft
FLOOR PLANS 1,500 to 2,500
FLOOR PLANS 2,500 + sq ft
LOG GARAGE PLANS
Other Home Design Options
How to Build a Log Cabin
Sue | May 20th, 2013 - 12:19 pmWe are often asked how to build a log cabin. The very best way to explain it is to show it through photos and videos. Over the last 10 months we completed a full turnkey on a handcrafted log home here in the Gallatin Valley area of Bozeman, Montana. The log home plan is the Bear Creek Plan, featured on our floor plan pages. We took this home from the very beginning design phase, through the log work, foundation, and to completion. So let me show you the stages of this log cabin.
Ron and Michele Burns, Owner of the Bear Creek Plan
For this article we will be referring to the Projects page of our website extensively. Each stage of the log cabin construction for this home is detailed with photos and accompanying text. The first stage is the log design. All homes start with the plans from which they will be built. We first make a set of preliminary drawings, make all the needed changes, and then the final construction drawings are completed.
The next step was the foundation work. The foundation for this home was a four foot crawl space under the home with a cement slab under the garage.
Click here to view the Foundation Work Album
Foundation work for a log home is about the same as for a standard construction home. It should be noted that the logs, especially the handcrafted log style, are heavy. Footers should be placed under all support post locations, exterior and interior log walls, etc. Also the garage should have a footer all the way around it that extends down below the frost line. A mono slab is not a good idea for a solid log garage. In areas that do not have solid rock under neath the top soil (such as areas of North Dakota), a large solid footer is very important.
Once the floor plans are completed then the log work can begin. While the excavation and foundation work is being done the handcrafted log shell is being built in our log yard.
The ordering of the specific logs for the log shell and the building of the log shell can take anywhere from 12 to 16 weeks. The Bear Creek required about 13 weeks.
After the log shell is finished then it is loaded onto trucks and shipped to the job site for reassembly.
Click here to view the Reassembly of Log Shell Album
The reassembly of this plan took 3 days on job site. Once the reassembly is complete then the log shell must be dried in. This includes the installation of exterior doors, windows, roofing, soffit, fascia, exterior door and window trim, Western Red Cedar siding on the gable ends, and interior framing. If you are building a log cabin yourself, you may want to take the time to read through the prep and installation of the exterior door and windows and also the interior framing. In these areas of the log cabin construction ‘shrinkage gaps’ or ‘settling channels’ must be utilizes. It is fool hardy to say the logs will not move some. They WILL move. So be sure to use the shrinkage gaps to prevent binding with the logs or damage to framed walls, windows, or doors. After this home was built we came back about a month later and shortened four of the interior wood doors. This is not a problem. Simply a feature of a log home.
We, as log home builders, had the dryin completed with a 5 man crew in about 3 weeks. Dryin can take longer than this, but be sure to allow enough time.
Click here to view the Dry-in of Log Home Album
Also be sure to have enough men on site that the job can be weather tight in the shortest time frame. If you don’t have a lot of funds to build your log home and you are trying to economize by doing a lot of the labor yourself, that is great. But if there is one area where I would encourage you to spend a bit of your capital, it would be to GET THE DRY-IN DONE ASAP! I can’t tell you how much heartache you can get into if the roof is not installed and the windows, doors, etc installed to keep the weather OUT of the house. Once the dry-in is complete then you can finish the the interior of the home in your own time frame.
The next stages of finishing the exterior of the log homes includes things like: staining, porches, exterior railing, stoning the foundation and chimney, and driveway work. The staining should be completed before the other items, or at the same time.
Click here to View the Exterior Log Home Work Album
Things like the stonework on the foundation can wait until later, but it is nice to get it completed before any of the sidewalks or yard is installed.
Now to turn our attention to the interior finish work. We include the interior framing with the dry-in of the log home as a knowledgeable log home builder should be involved with this stage.
Click here to View the Interior Log Home Work Album
Of this cross section of the completion build I would specifically turn your attention to the rough-in of the utilities, sheet rocking, and the hanging of the kitchen cabinets. Here the shrinkage gaps come into play once again.

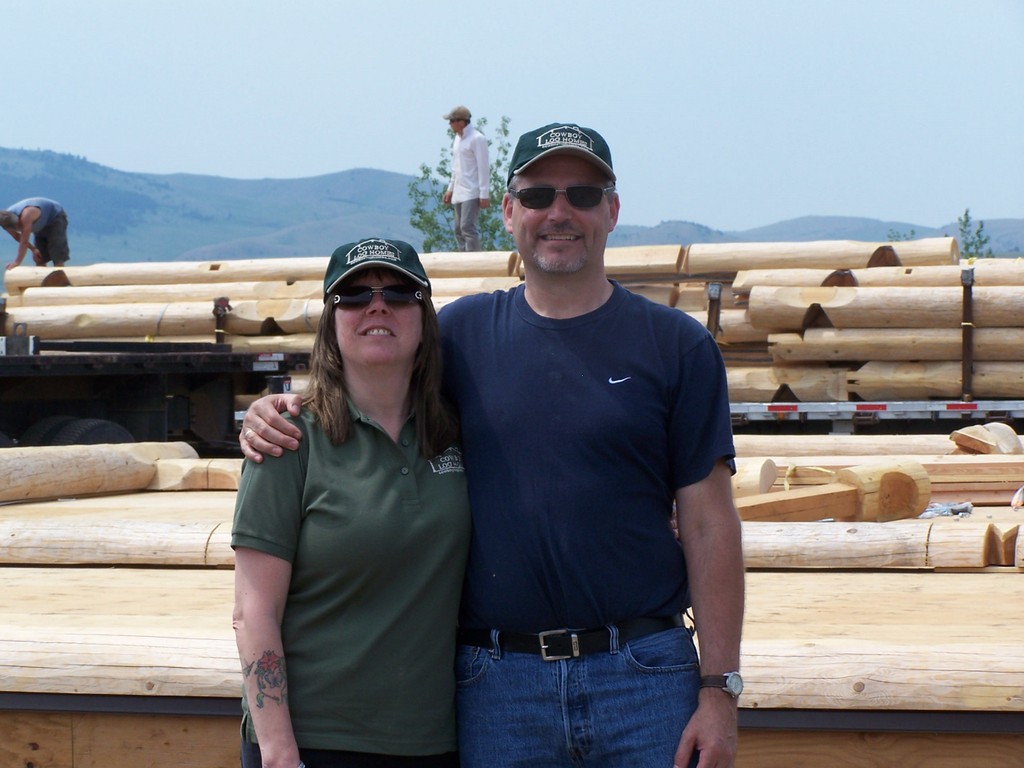
Ten Months Later~ Ron and Michele Burns, Sue and Mike Lemmon (left to right)
I believe it would be a worthwhile investment in your new log home to take the time to read down through all the pages detailing the build, especially if you are seriously looking for how to build a log home. For those who are hiring a log home builder it is still is a good idea to familiarize yourself with the various stages and steps in the process of turning your ideas into reality.