
CONTACT US
21000 Frontage Rd, Suite 10
Belgrade, MT 59714
Phone 406-388-3458

Log Profiles
FLOOR PLANS TO 1,500 sq ft
FLOOR PLANS 1,500 to 2,500
FLOOR PLANS 2,500 + sq ft
LOG GARAGE PLANS
Other Home Design Options
Days 12 and 13 ~ Interior Framing
We are now up to days 12 and 13. As our photo series shows, the outside work has been completed to “dry-in” the log home. Now we move inside for the interior framing. We consider installation of the interior framing to be part of the dry-in stage of construction because this is also and area where an experienced log home builder needs to provide expertise to prevent any binding with the logs.
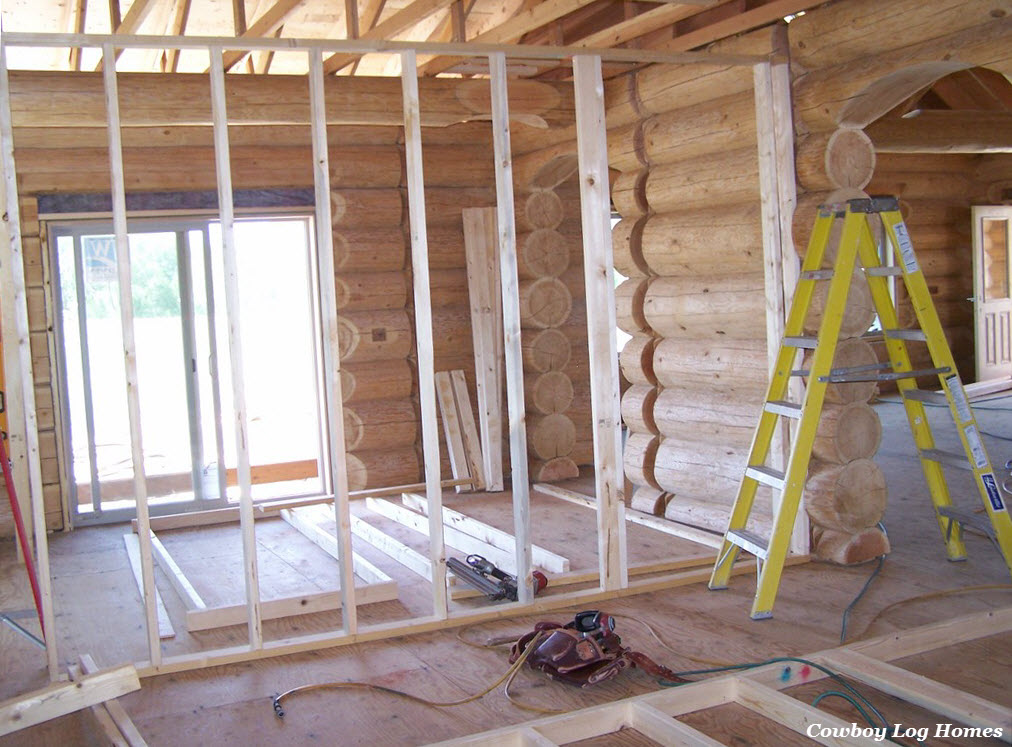
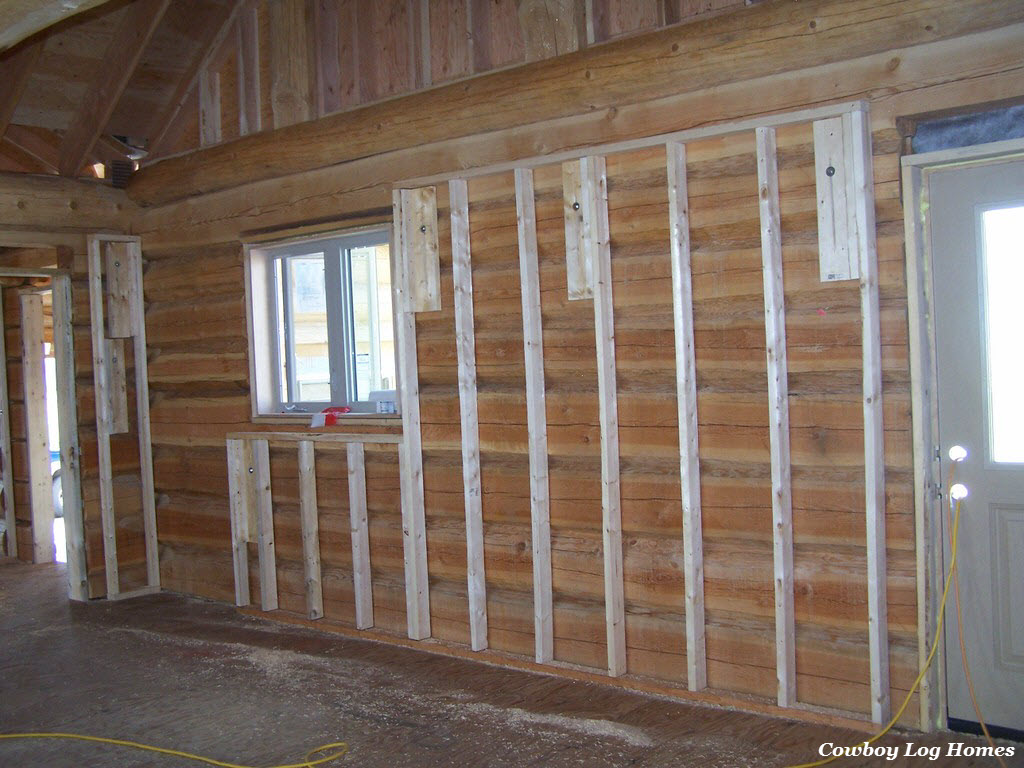
Here we see framed walls assembled on the floor and the middle wall standing. The wider opening to the right (behind the yellow ladder) is a door opening. Notice at the very top right corner of the framed wall a space is left between the top of the framed wall and the bottom of the trusses.
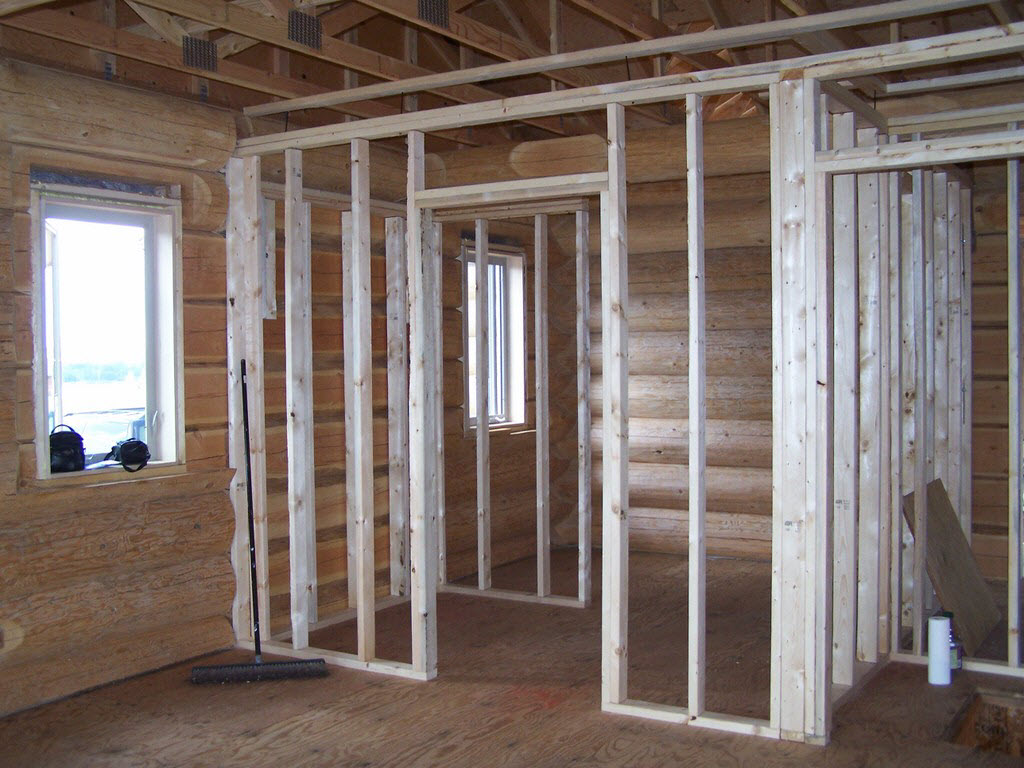
Here in our next photo we see more framed walls fully installed. Notice the channel that is left by the 2×4’s that run horizontally along the top of the framed wall. This is the shrinkage channel. The 2×4’s are held together by long black log screws. These screws are smooth shank with about two inches of thread at the bottom. As the logs settle the shrinkage channel can compress without damaging the interior walls or doors.
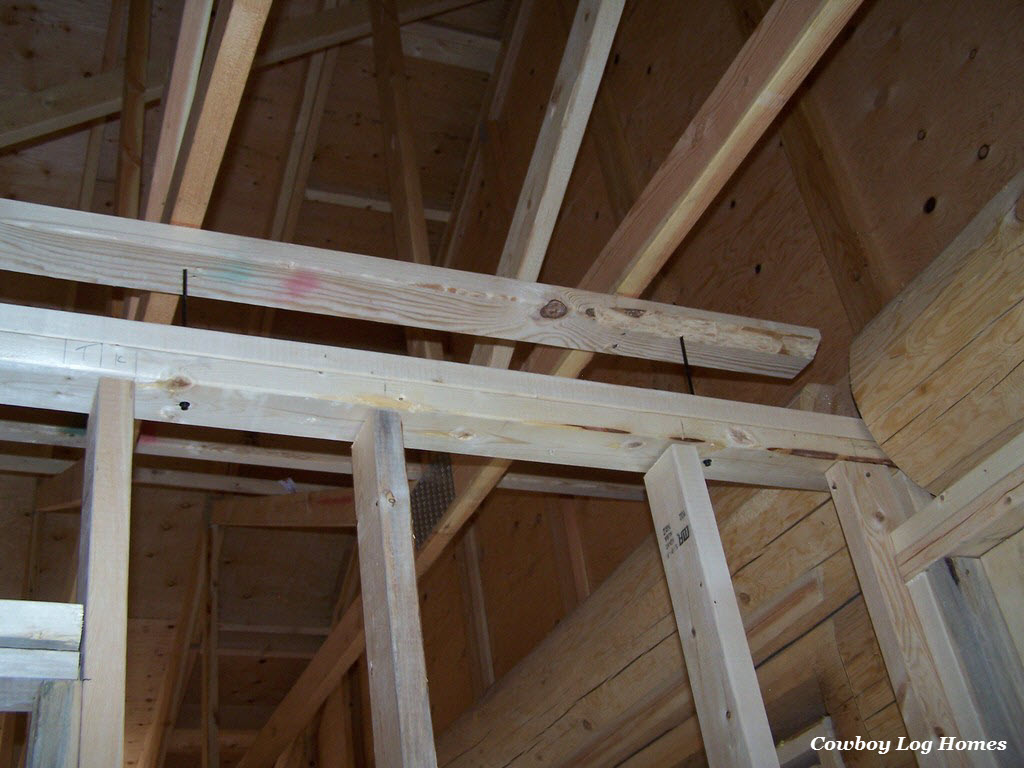
Looking up towards the top of the framed wall we gain a closer look at the space allowed for the shrinkage channel. The 2×4 is also doubled on the top of the framed wall.
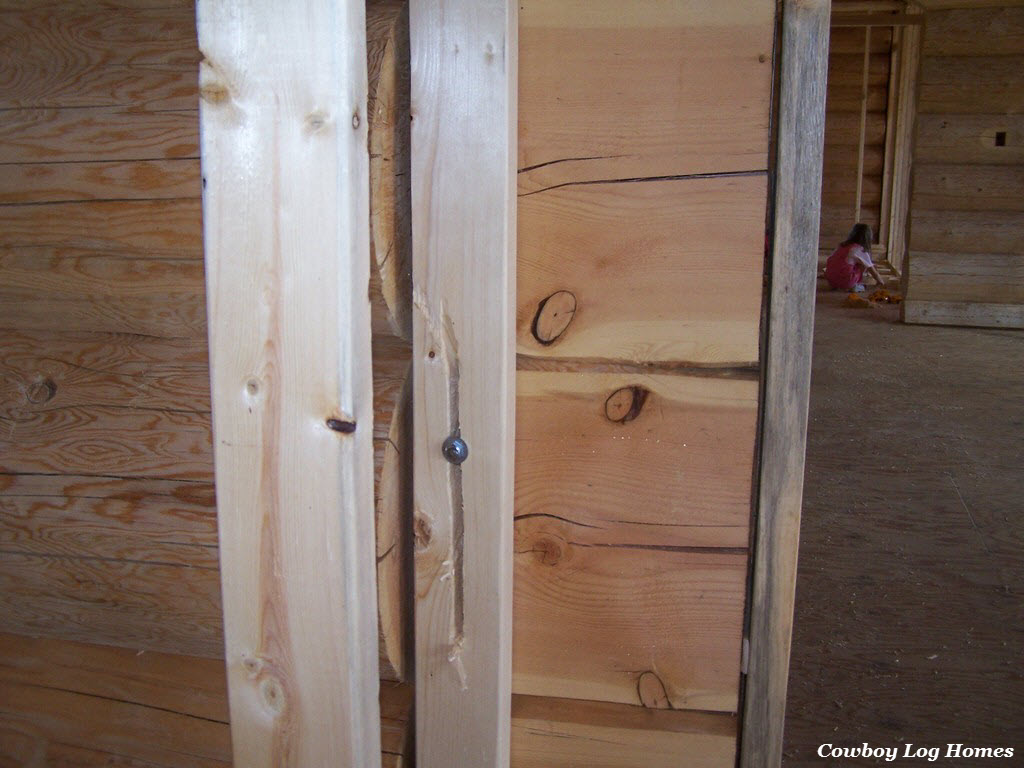
Another feature of interior framing which is employed with log homes is the slip joint. As shown below, the slip joint is a vertical slot that is cut into the interior framed wall. Then a long log screw is used to fasten the framing to the log wall. Just as the shrinkage gap allowed the logs to settle, this slip joint enables the log wall to “float” while the rigid framed wall is stationary.
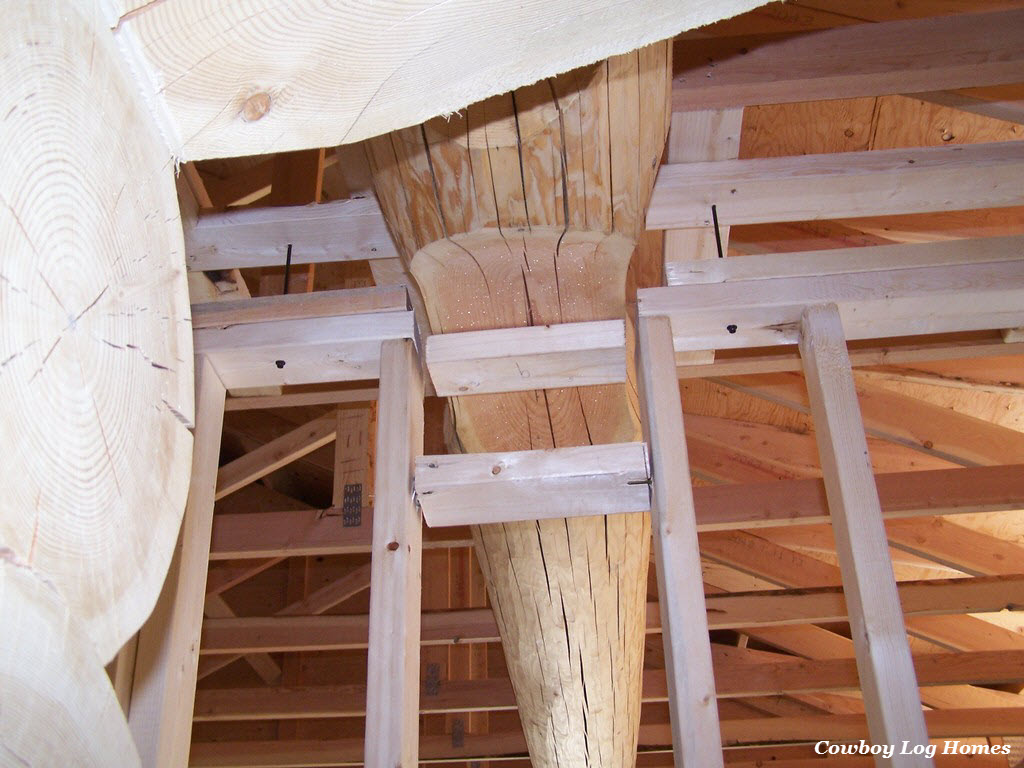
Here we have one more look at a shrinkage gap. This home has extra purloins added over the bedroom wings to give a more rustic appearance. The purloin has been framed around with the shrinkage gap underneath were the log penetrates through the framed wall.
For this floor plan the kitchen is located at the end of the great room. With log homes it is best to frame in the wall that the cabinets will be hung from. So here the framed wall is attached to the log wall. Slip joints have also been installed at the top of the framed wall area. Without this method the rigid kitchen cabinets would bind with the logs as they move. I would also like to note that the interior of the chimney was framed in this same manner, even though it is not pictured in this segment.
With log homes, once the dryin is completed and the interior framing, the log home is very similar to finishing a standard construction home. The unique needs of the logs has been addressed and handled each in turn. About the only other two locations where the logs will come into play once again is when the drywall is hung and when the interior trim work is completed.
Cowboy Log Homes